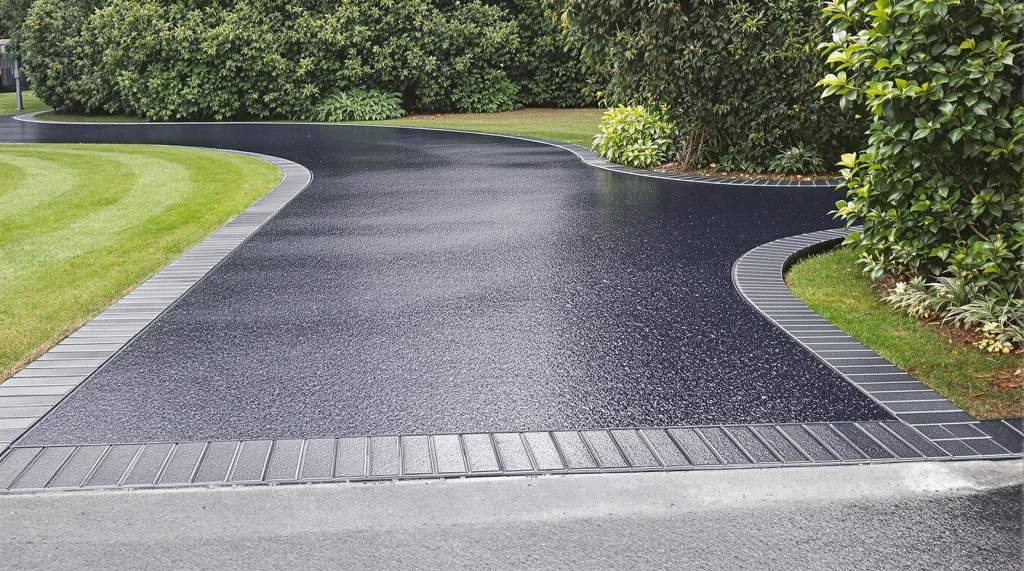
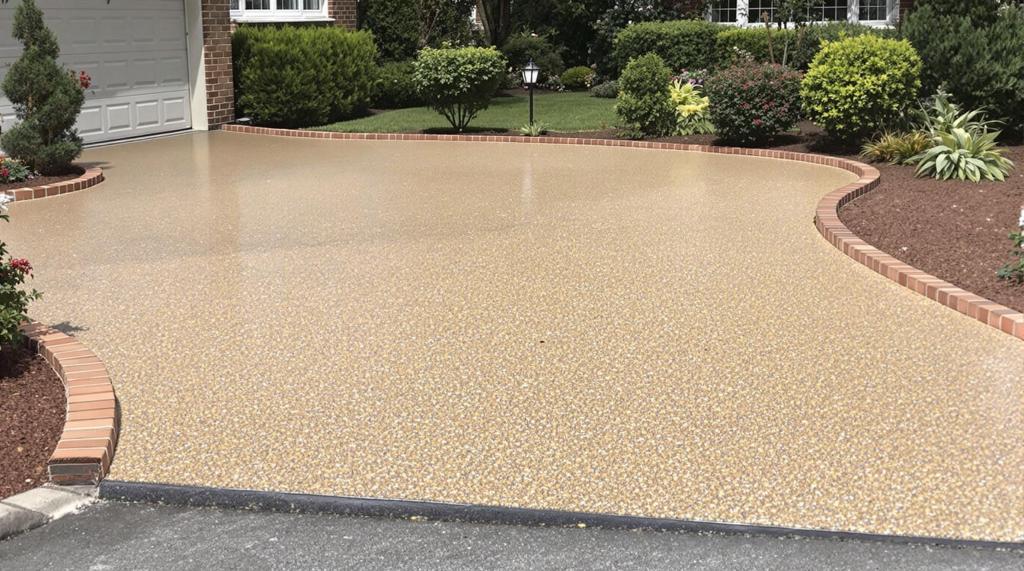
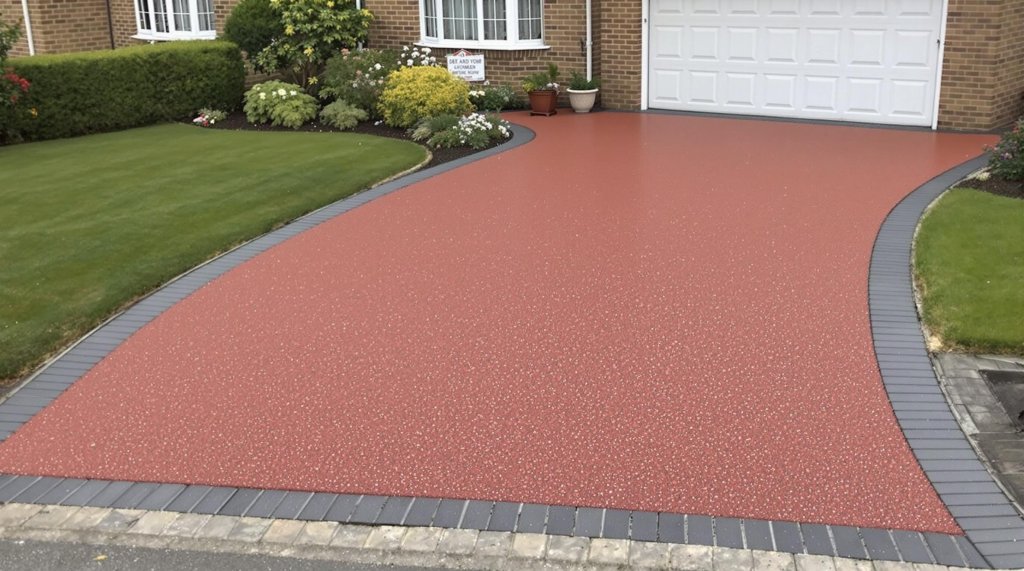
2025 Resin Driveway Upgrade Essentials
Preparing the Base
When it pertains to installing material driveways, preparing the base is arguably the most vital action (and one that you shouldn't miss!). Questions for Your Resin Driveway Contractor . You could believe it's just about laying some product down, however it's alot even more than that. Without a properly prepared base, your driveway won't stand the test of time, despite exactly how well you lay the resin.
First of all, you have actually reached pick the best products. A common blunder people make is believing any old gravel will certainly work. That's a huge no-no! You need a sub-base that's secure and well-draining. Normally, a blend of crushed rock or aggregate (with a dimension of around 20mm) functions finest. It's not just about tossing it down, however. You require to portable it thoroughly. If it's not compacted, it wont supply the support your driveway requires, and you'll end up with unpleasant fractures or, even worse, the entire thing may begin to sink.
When youve got your products sorted, it's time to dig. You angle just dig a little and hope for the most effective. The depth of your excavation must go to least 250mm, however it varies relying on the sort of soil and the intended use of the driveway. If hefty vehicles will certainly be using it, you could require to go deeper to ensure stability. Oh, and do not ignore drainage! Without proper water drainage, water can build up and deteriorate the base, causing early failure.
Next, theres the importance of a geotextile membrane layer. It functions as a barrier (protecting against the blending of the sub-base with the dirt below) and assists with drain. A great deal of individuals skip this action, assuming its unnecessary, yet trust me, it deserves the effort. It might not feel like a huge deal currently, but in the future, it'll save you from frustrations and additional costs.
After you've compressed your sub-base, it's time to level it out. This is where interest to detail actually matters. If your base isn't level, the resin won't lay evenly, leading to an uneven surface area that's not just unappealing yet also a stumbling risk. Make use of a spirit level to make certain whatever is also and readjust where needed.
In conclusion, while preparing the base for a material driveway might appear like a lot of work, it's an action you can not pay for to disregard. Avoiding or rushing via it will only lead to problems later on. So
Mixing the Material and Accumulation
Mixing the Material and Aggregate: A Crucial Action In Installing Resin Driveways
When it involves setting up a resin driveway, one action thats absolutely critical is blending the material and accumulation. Resin bonded driveway alternatives offer various textures and finishes, providing options like a menu at a five-star restaurant. Its not something you can simply hurry with or forget, due to the fact that the high quality of this combination will ultimately determine just how resilient and eye-catching your driveway will certainly be. Oh, and let me inform you, getting it right can make all the difference!
First of all, you need to make certain youve obtained the right devices and products. Youll require a paddle mixer (those things are life-savers!) and a clean blending area. Its important to maintain every little thing clean because even a bit of dust can mess points up. You don't desire that, do you? Also, be sure to measure the material and accumulation properly. Don't simply eyeball it-- precision is essential.
When youre all set, start by putting the resin into a mixing container. Its crucial that the material is combined completely prior to including any type of accumulation. This ensures that the resin will layer each item of accumulation equally, which is important for the toughness of the driveway. If the resin isn't mixed well, it wont bind properly, and the driveway may start to fall apart in time. Yikes!
After the material is adequately blended, you can start to add the aggregate. Do this slowly and continuously-- including excessive simultaneously can lead to clumps (and no one desires globs). Stir continually to make sure everything is uniformly dispersed. You may think youre done once it looks well-mixed, but give it a couple of added mixes simply in situation. Its far better to be secure than sorry, ideal?
Currently, heres something that people frequently forget: do not mix excessive at once! If you blend a big set and cant apply it quickly, it could start to set prior to you also lay it down. That would be a genuine headache. So, mix in smaller sized batches that you can deal with within the functioning time.
Ultimately, remember that ambient problems (like temperature level and humidity) can impact just how the resin remedies. Its not something to be ignored. See to it to take these variables into account prior to beginning the mixing procedure.
Finally, blending the material and aggregate could look like a straightforward step, however its one you angle afford to mistake. With a little care and interest, youll have the ability to produce a magnificent and long-lasting material driveway that not just improves your buildings suppress charm yet additionally stands the examination of time!
Laying the Material Surface
Laying the material surface is just one of the most essential action in mounting a material driveway. Oh, but do not let that daunt you! It's not as complicated as it seems, and with a little perseverance and focus to information, you can achieve a smooth, long lasting finish.
First points initially, you don't just begin pouring material all over (that would certainly be a mess). You require to prepare the surface area diligently. Make sure its clean, dry, and without any kind of loose debris. If there's a fleck of dust, it could ruin the entire appearance. So, do not skip this step unless you intend to remodel the entire thing. When your base prepares, you can go on to mixing the material.
Blending the resin appropriately is crucial. You will not desire a mix thats also thick or too drippy. It's reached be perfect. Typically, resin comes in two parts, the resin itself and a hardener. When these 2 components are combined, they develop a chain reaction that provides the material its toughness. But take care! If you blend them incorrectly, you might end up with a surface area that does not set at all. Comply with the supplier's directions word for word.
Now, heres where the real enjoyable starts-- laying the resin. Using a trowel or a squeegee, spread out the mixed material uniformly over the driveway. You don't desire any type of lumps or uneven spots, so take your time. Operate in convenient areas, making certain each area is smooth before going on. It's no race; patience is your buddy here. Be sure you're not laying it also thick, as this could result in fracturing later on.
Oh, and don't fail to remember to include the aggregate (those little rocks)! Thoroughly spread them across the surface area while the resin is still wet. This will certainly provide your driveway that lovely, distinctive look and offer extra grip. It's not just for aesthetic appeals; it's for safety and security, as well.
As soon as you have actually put down the material and accumulation, its time to let it treat. Do not hurry this process. You shouldn't walk or drive externally until it's completely established. The treating time can differ depending upon the weather, so keep an eye on the projection. Rainfall is not your good friend at this stage.
To conclude, laying the resin surface area requires cautious prep work, exact blending, and patient application. Its not something you can rush with, yet with these actions, you're well on your method to having a stunning material driveway
Completing Touches and Curing Refine
Mounting a material driveway is a satisfying task that can change the visual allure of your home. However, its vital to focus on the finishing touches and curing process to guarantee the driveways durability and look. Many people usually ignore these last steps, however theyre important for a perfect finish.
As soon as the material mix is used and ravelled, the real magic starts with the ending up touches. This includes very carefully examining the surface for any flaws. Small air bubbles or irregular places? Don't panic! They can be carefully smoothed over with a trowel or roller. Its vital not to hurry this procedure; after all, persistence is key. Youll want to ensure that the surface area is even and regular.
But wait-- theres more to it than simply smoothing. The borders of the driveway must be neat and tidy, which may need cutting any type of excess product. This is where attention to detail truly beams. Make sure the edges are tidy and straight, as it produces a professional look that will wow any individual that sees it.
Currently, lets speak about the treating process. This is the phase where many individuals (remarkably) make mistakes. The material requires time to set correctly to accomplish optimal strength and sturdiness. Its alluring to make use of the driveway immediately, yet hold your equines! Its recommended to stay clear of any type of foot web traffic for at the very least 24 hr and automobile web traffic for approximately 48 hours. This guarantees that the surface area solidifies totally and can withstand the deterioration of day-to-day usage.
Throughout this period, its important to keep the driveway devoid of particles, leaves, or anything that might leave marks. A simple cover or obstacle can be helpful to maintain unwanted aspects away. This could seem like an unneeded action, yet its essential to not skip it. The healing process is not nearly drying out; its about allowing the material bond fully with the aggregate to develop a resilient surface area.
To conclude, while the installment of a material driveway is a significant job, the completing touches and healing process are what determine its success. Don't be lured to miss these actions or thrill via them. Making sure the surface area is ideal and allowing ample time for healing will result in a gorgeous, resilient driveway that will stand the test of time. Bear in mind, its those last information that make all the difference!
