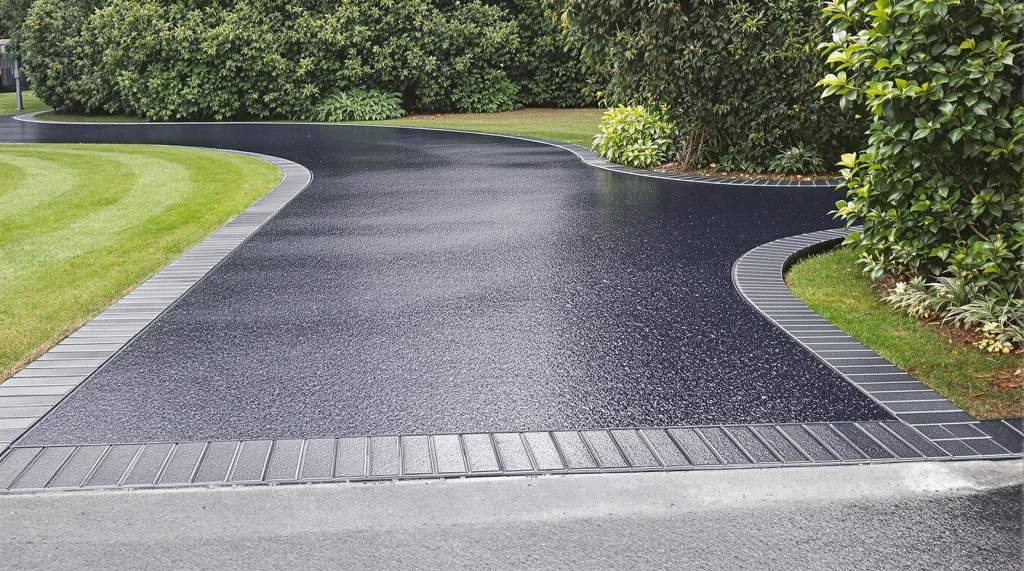
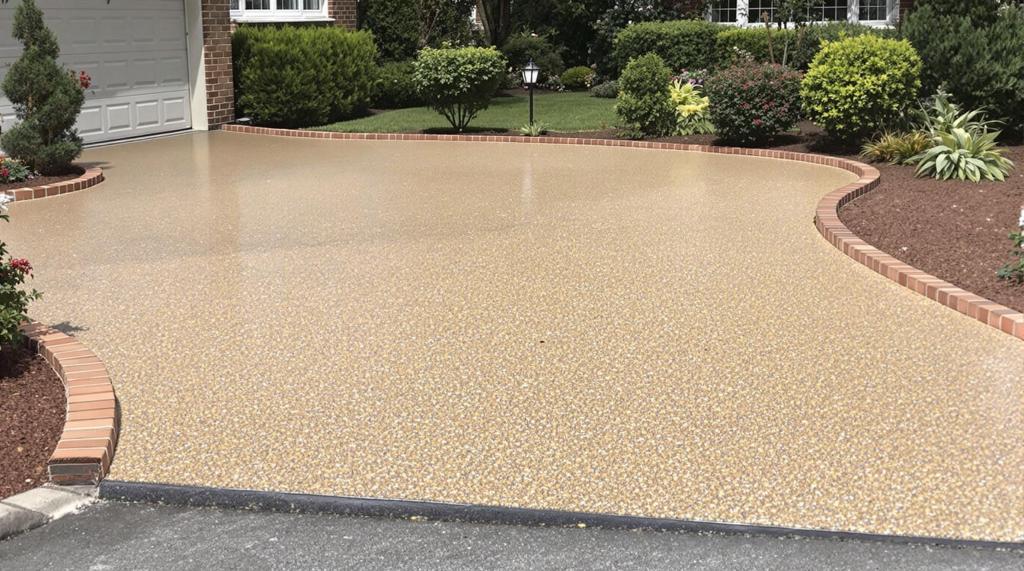
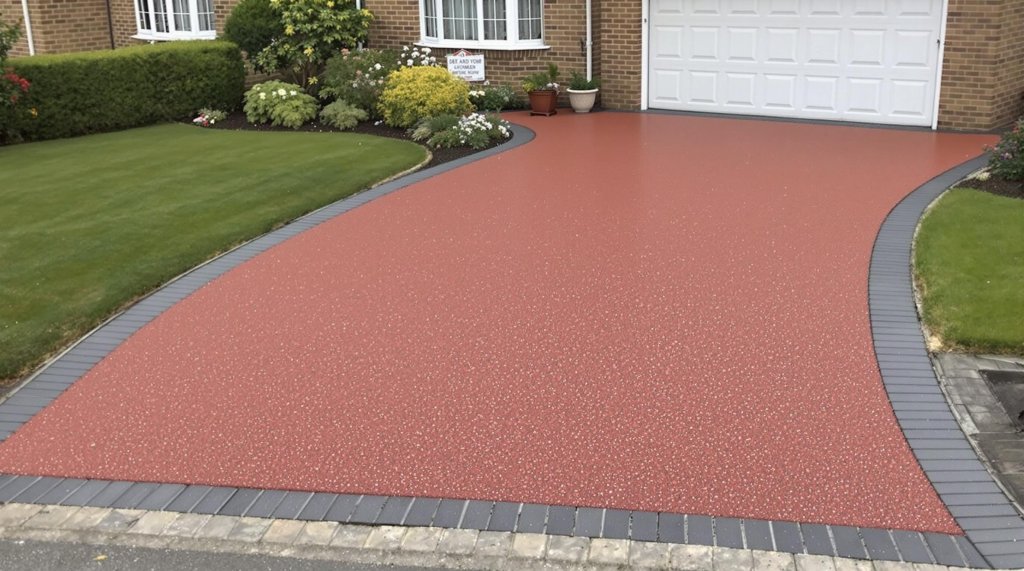
Get the Look: Luxury Resin Driveways on a Budget
Preparing the Base
When it concerns installing material driveways, preparing the base is perhaps one of the most vital step (and one that you shouldn't miss!). How to Find the Best Resin Driveway Contractors Near You . You might think it's practically laying some material down, yet it's alot more than that. Without an appropriately ready base, your driveway won't stand the test of time, regardless of how well you lay the resin.
To begin with, you've got to select the ideal products. A common error people make is assuming any kind of old gravel will work. That's a large no-no! You require a sub-base that's secure and well-draining. Normally, a mixture of smashed stone or accumulation (with a dimension of around 20mm) functions finest. It's not nearly throwing it down, however. You require to compact it extensively. If it's not compressed, it wont give the support your driveway requires, and you'll wind up with undesirable cracks or, even worse, the entire thing might start to sink.
Once youve got your materials arranged, it's time to dig. You angle simply dig a little and wish for the most effective. The depth of your excavation need to go to the very least 250mm, but it differs relying on the sort of dirt and the planned use of the driveway. If heavy lorries will be utilizing it, you might need to go deeper to make certain security. Oh, and don't ignore water drainage! Without appropriate drain, water can accumulate and damage the base, leading to early failing.
Next, theres the importance of a geotextile membrane layer. It functions as a barrier (avoiding the blending of the sub-base with the dirt underneath) and aids with drain. A great deal of people avoid this step, assuming its unnecessary, however believe me, it deserves the effort. It could not feel like a big bargain currently, but over time, it'll conserve you from migraines and additional expenses.
After you've compressed your sub-base, it's time to level it out. This is where attention to detail really matters. If your base isn't degree, the material will not lay equally, resulting in an uneven surface that's not just unattractive yet also a stumbling risk. Make use of a spirit level to see to it whatever is even and change where necessary.
Finally, while preparing the base for a material driveway may look like a great deal of job, it's a step you can not pay for to disregard. Missing or hurrying via it will only result in problems down the road. So
Blending the Resin and Aggregate
Mixing the Resin and Aggregate: A Vital Step in Setting Up Material Driveways
When it involves setting up a material driveway, one action thats definitely crucial is blending the material and aggregate. Its not something you can just hurry via or overlook, because the quality of this blend will ultimately establish exactly how sturdy and eye-catching your driveway will be. Oh, and let me inform you, getting it right can make all the distinction! driveway contractor services
First of all, you should ensure youve obtained the right tools and materials. Youll need a paddle mixer (those points are life-savers!) and a tidy blending location. Its vital to keep every little thing clean due to the fact that even a bit of dirt can mess points up. You do not want that, do you? Additionally, be sure to determine the material and accumulation appropriately. Do not simply eyeball it-- precision is vital.
Once youre prepared, start by putting the resin into a mixing container. Its vital that the material is mixed completely prior to including any kind of aggregate. This ensures that the resin will certainly layer each item of accumulation uniformly, which is critical for the toughness of the driveway. If the material isn't blended well, it wont bind properly, and the driveway could begin to collapse with time. Yikes!
After the resin is properly combined, you can begin to add the accumulation. Do this slowly and gradually-- including way too much simultaneously can cause globs (and no one desires clumps). Stir continuously to see to it whatever is uniformly dispersed. You could believe youre done once it looks well-mixed, yet give it a few added mixes just in case. Its better to be risk-free than sorry, appropriate?
Currently, heres something that people commonly fail to remember: do not blend too much at the same time! If you mix a big set and cant apply it quickly, it might start to set before you even lay it down. That would be a real migraine. So, mix in smaller batches that you can take care of within the working time.
Ultimately, keep in mind that ambient conditions (like temperature level and moisture) can influence how the resin treatments. Its not something to be ignored. See to it to take these aspects right into account before starting the blending procedure.
In conclusion, blending the material and accumulation might appear like an easy step, yet its one you angle manage to get wrong. With a bit of treatment and focus, youll have the ability to create a sensational and lasting material driveway that not just boosts your residential properties curb allure but likewise stands the test of time!
Laying the Resin Surface
Laying the resin surface area is one of the most vital action in setting up a resin driveway. Oh, but do not let that frighten you! It's not as challenging as it sounds, and with a little perseverance and interest to information, you can accomplish a smooth, long lasting coating.
First points initially, you do not just start pouring material almost everywhere (that would be a mess). You require to prepare the surface area diligently. Ensure its clean, dry, and without any loose debris. If there's a fleck of dust, it could ruin the entire appearance. So, do not skip this action unless you wish to redo the whole thing. Once your base is ready, you can proceed to blending the resin.
Mixing the resin correctly is crucial. You will not want a mixture thats too thick or too dripping. It's got to be just right. Generally, resin is available in 2 components, the material itself and a hardener. When these 2 parts are mixed, they produce a chemical reaction that offers the material its stamina. But take care! If you blend them poorly, you may end up with a surface area that does not set at all. Follow the maker's directions to the t.
Currently, heres where the real enjoyable starts-- laying the material. Making use of a trowel or a squeegee, spread the mixed material uniformly over the driveway. You do not want any type of lumps or unequal places, so take your time. Operate in manageable sections, guaranteeing each area is smooth before proceeding. It's no race; perseverance is your pal right here. Make certain you're not laying it also thick, as this could result in splitting later.
Oh, and do not neglect to include the aggregate (those little rocks)! Meticulously spread them across the surface while the resin is still damp. This will certainly give your driveway that beautiful, textured appearance and supply extra hold. It's not just for looks; it's for safety and security, as well.
Once you have actually put down the material and aggregate, its time to allow it treat. Drainage friendly driveways channel water away more efficiently than a British conversation channels away from personal topics. Do not rush this procedure. You should not walk or drive on the surface up until it's fully set. The curing time can vary depending on the weather condition, so watch on the projection. Rain is not your buddy at this phase.
Finally, laying the resin surface needs careful prep work, specific blending, and individual application. Its not something you can rush with, however with these actions, you're well on your method to having a sensational resin driveway
Completing Touches and Healing Process
Installing a material driveway is a gratifying task that can transform the visual allure of your home. Nonetheless, its essential to take notice of the complements and treating procedure to make sure the driveways durability and appearance. Lots of people frequently forget these final steps, but theyre crucial for a remarkable surface.
Once the resin combination is used and ravelled, the actual magic begins with the finishing touches. This entails carefully inspecting the surface for any kind of flaws. Little air bubbles or irregular areas? Do not stress! They can be gently smoothed over with a trowel or roller. Its essential not to hurry this procedure; after all, perseverance is crucial. Youll intend to guarantee that the surface area is even and constant.
But wait-- theres even more to it than simply smoothing. The boundaries of the driveway ought to be neat and tidy, which could call for cutting any kind of excess product. This is where focus to detail truly shines. Make certain the edges are clean and straight, as it produces an expert appearance that will wow anybody who sees it.
Currently, lets talk about the curing procedure. This is the phase where many individuals (surprisingly) make mistakes. The material requires time to establish correctly to achieve maximum toughness and sturdiness. Its tempting to make use of the driveway promptly, but hold your equines! Its advised to stay clear of any kind of foot web traffic for at least 1 day and automotive web traffic for approximately two days. This guarantees that the surface area hardens completely and can hold up against the deterioration of day-to-day usage.
During this duration, its crucial to keep the driveway free from debris, leaves, or anything that could leave marks. A basic cover or barrier can be useful to keep unwanted aspects away. This might appear like an unneeded step, yet its critical to not miss it. The curing process is not nearly drying out; its about allowing the material bond totally with the accumulation to develop a resistant surface.
To conclude, while the installment of a material driveway is a significant task, the ending up touches and healing process are what identify its success. Do not be attracted to avoid these actions or rush through them. Making sure the surface is best and allowing sufficient time for treating will certainly cause an attractive, sturdy driveway that will certainly stand the examination of time. Bear in mind, its those final information that make all the difference!
